This page describes how we install our Linux boxes at iLab with
64-bit Ubuntu Linux and all the necessary packages to compile the iLab
Neuromorphic Vision C++ Toolkit. You can use this as a guide for your
own Linux installation. Note, however, that some of the configurations
shown here are specific to our lab and how our network is
organized.
If this looks complicated, you should instead just download a
pre-installed VirtualBox image with the full operating system and all
of the packages to run iLab software, from our VirtualBox download page.
Here we show a typical setup sequence, using a 64-bit
computer. Click on a thumbnail to see the full screenshot.
 |
-
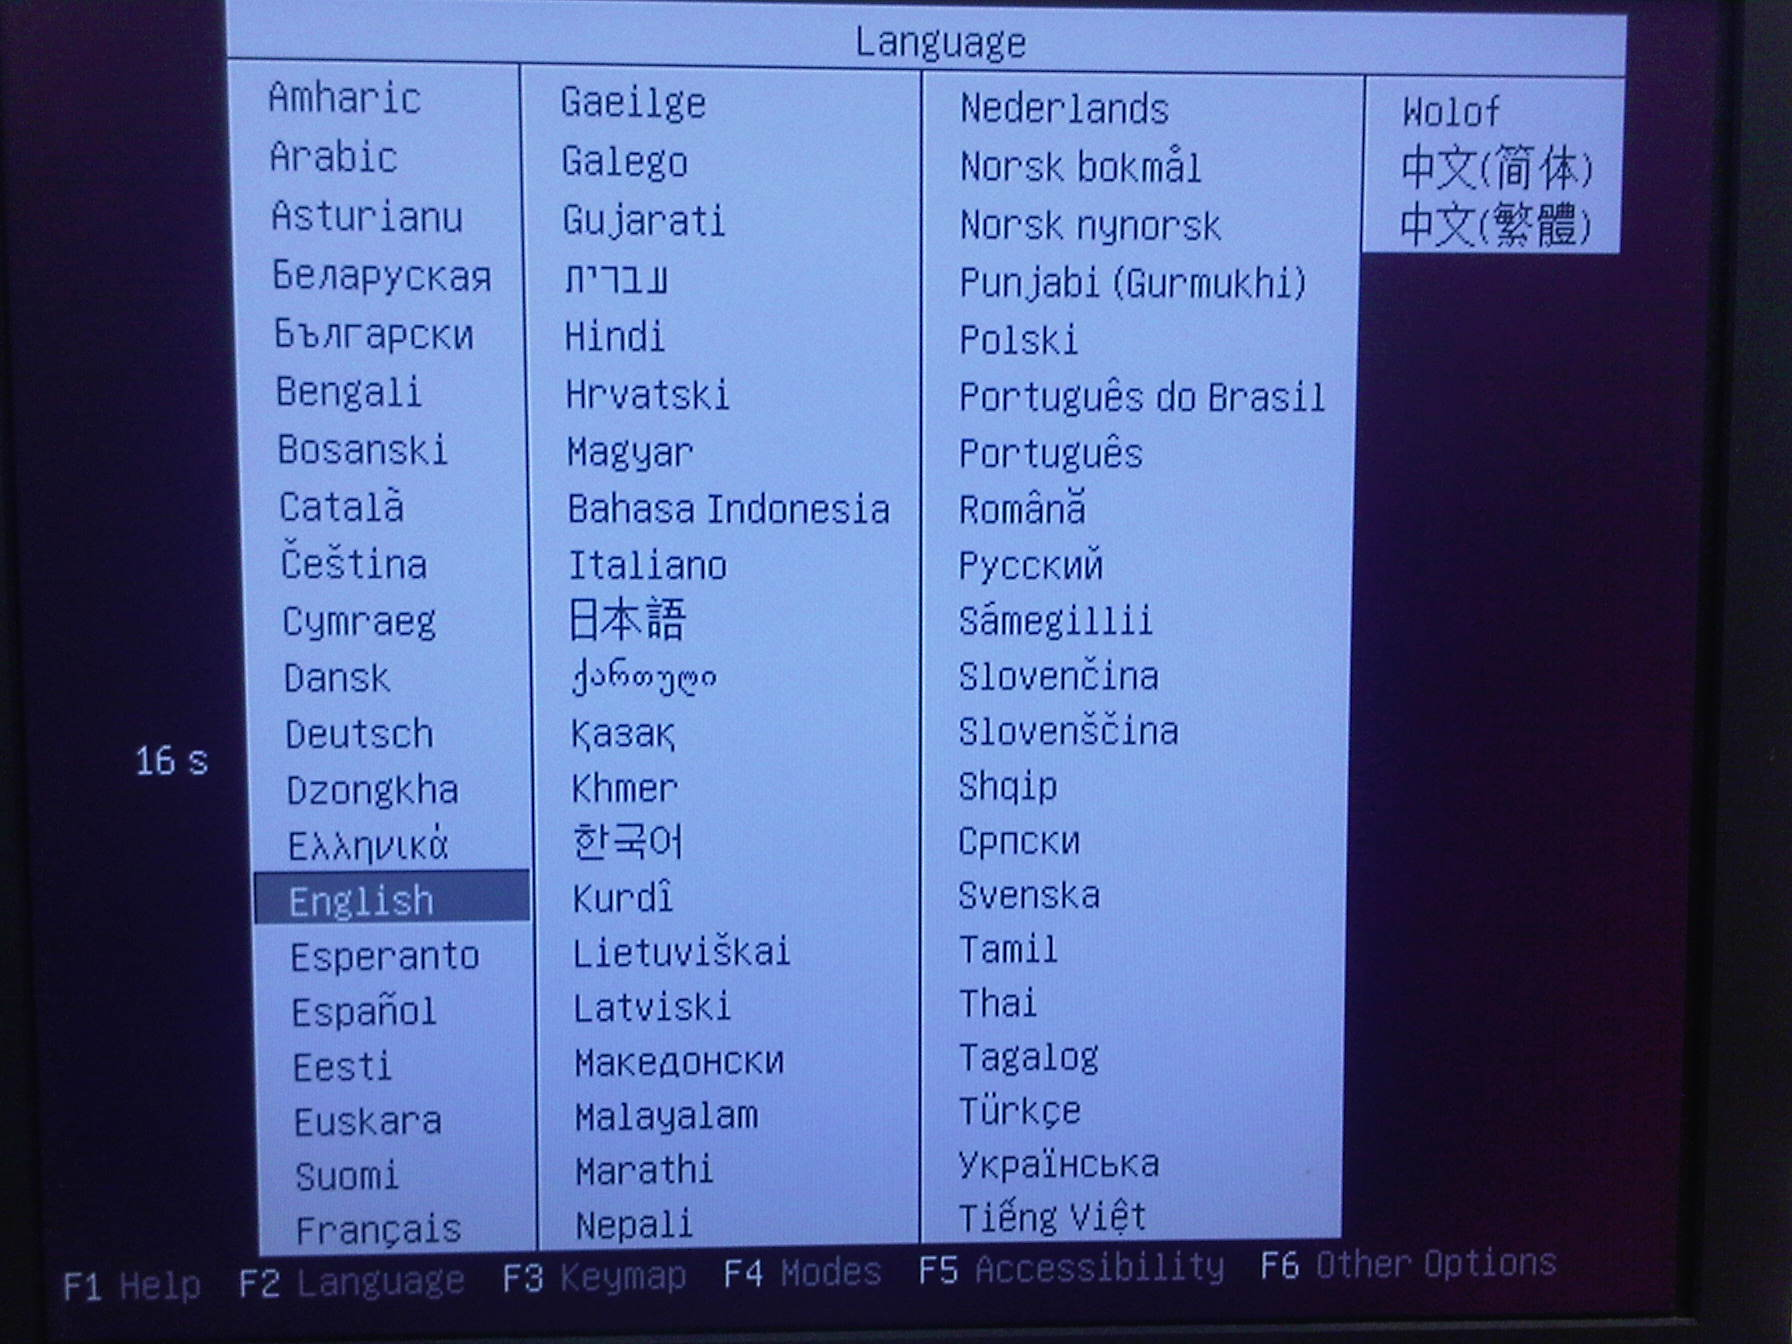
Boot the Ubuntu installation DVD.
- Select 'English'.
|
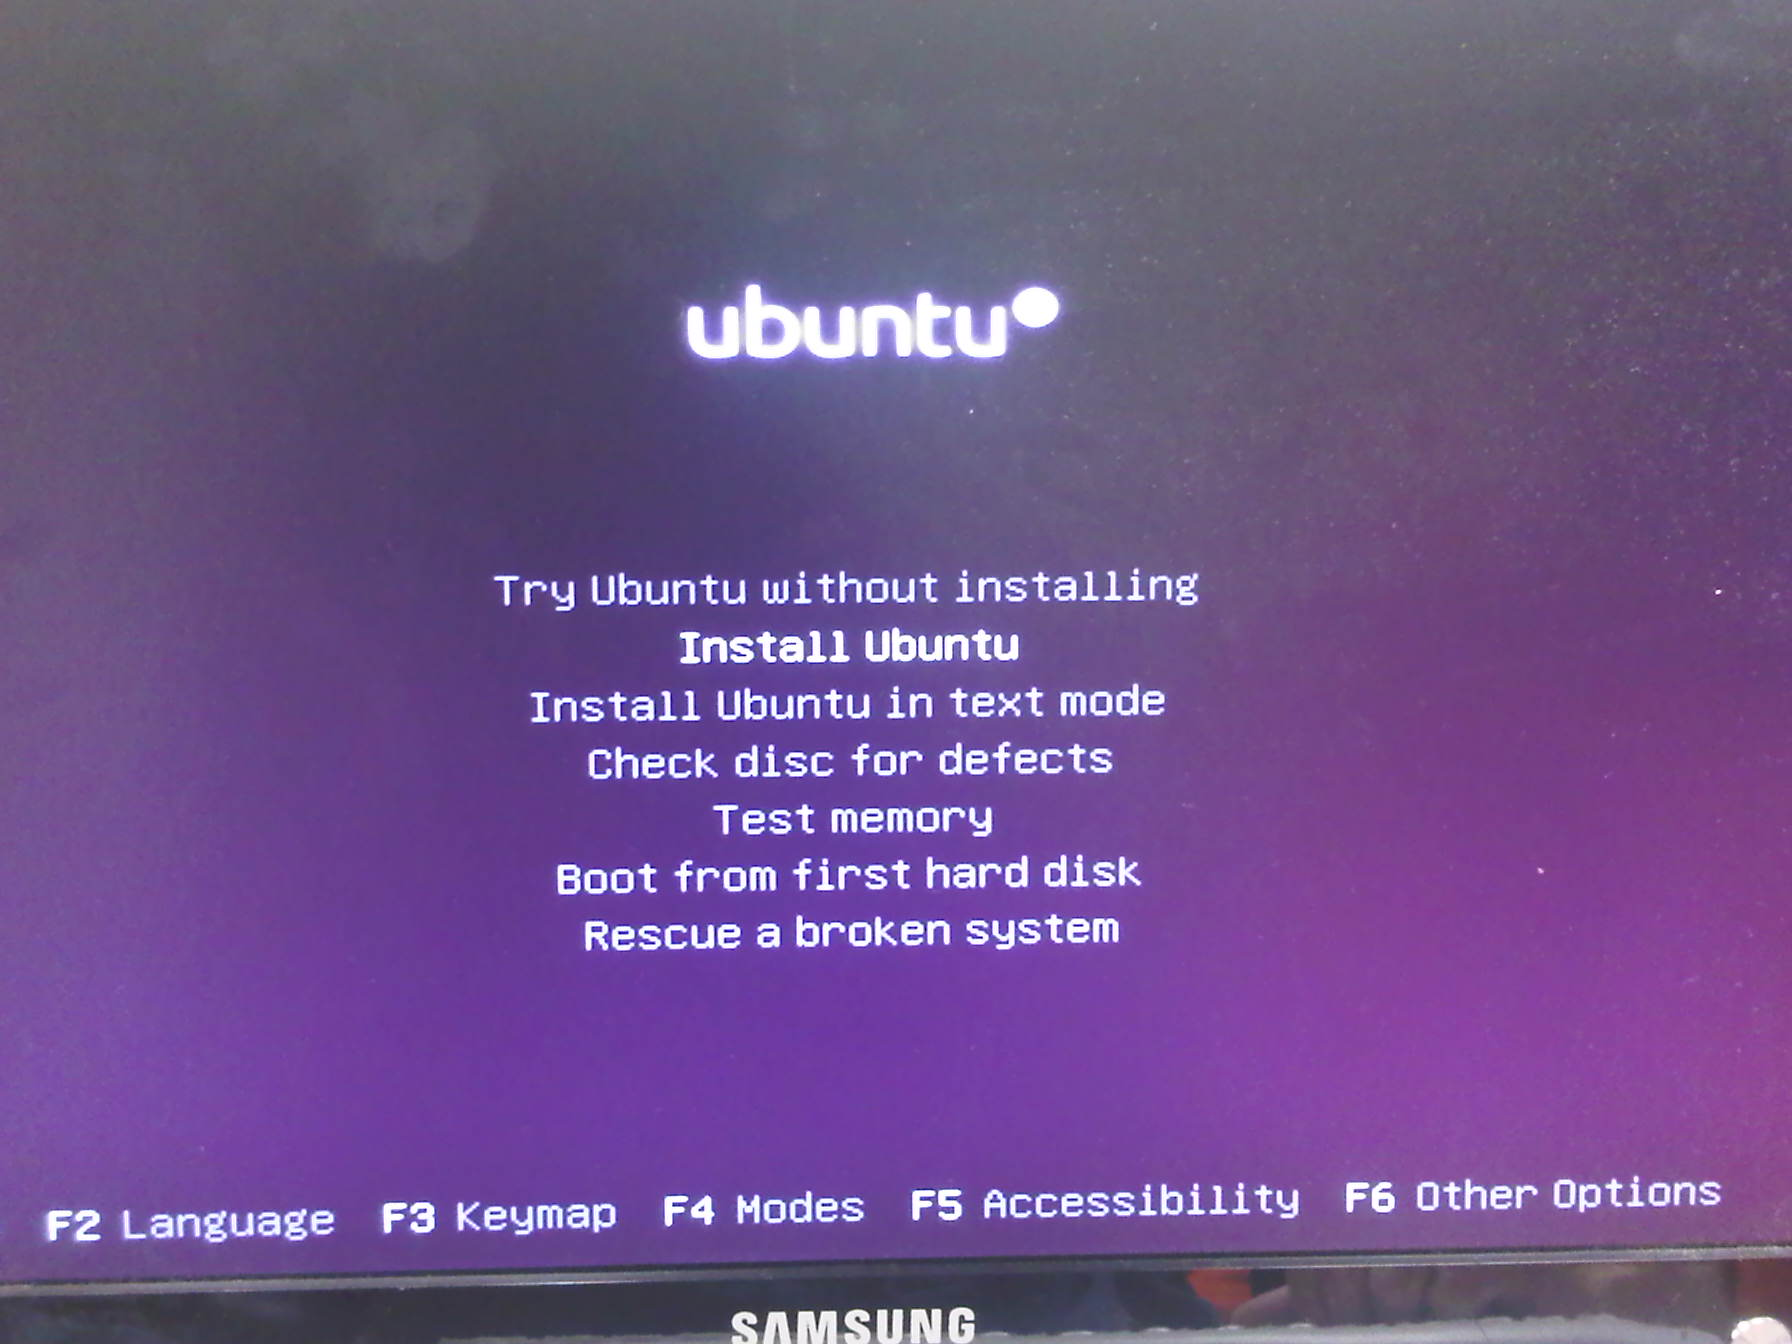
 | - Using the cursor keys, select 'Install Ubuntu'
and press RETURN.
|
 | - Select 'English' and click 'Forward'.
|
 | - Check your timezone and click
'Forward'.
|
 | - Check keyboard type and click
'Forward'.
|
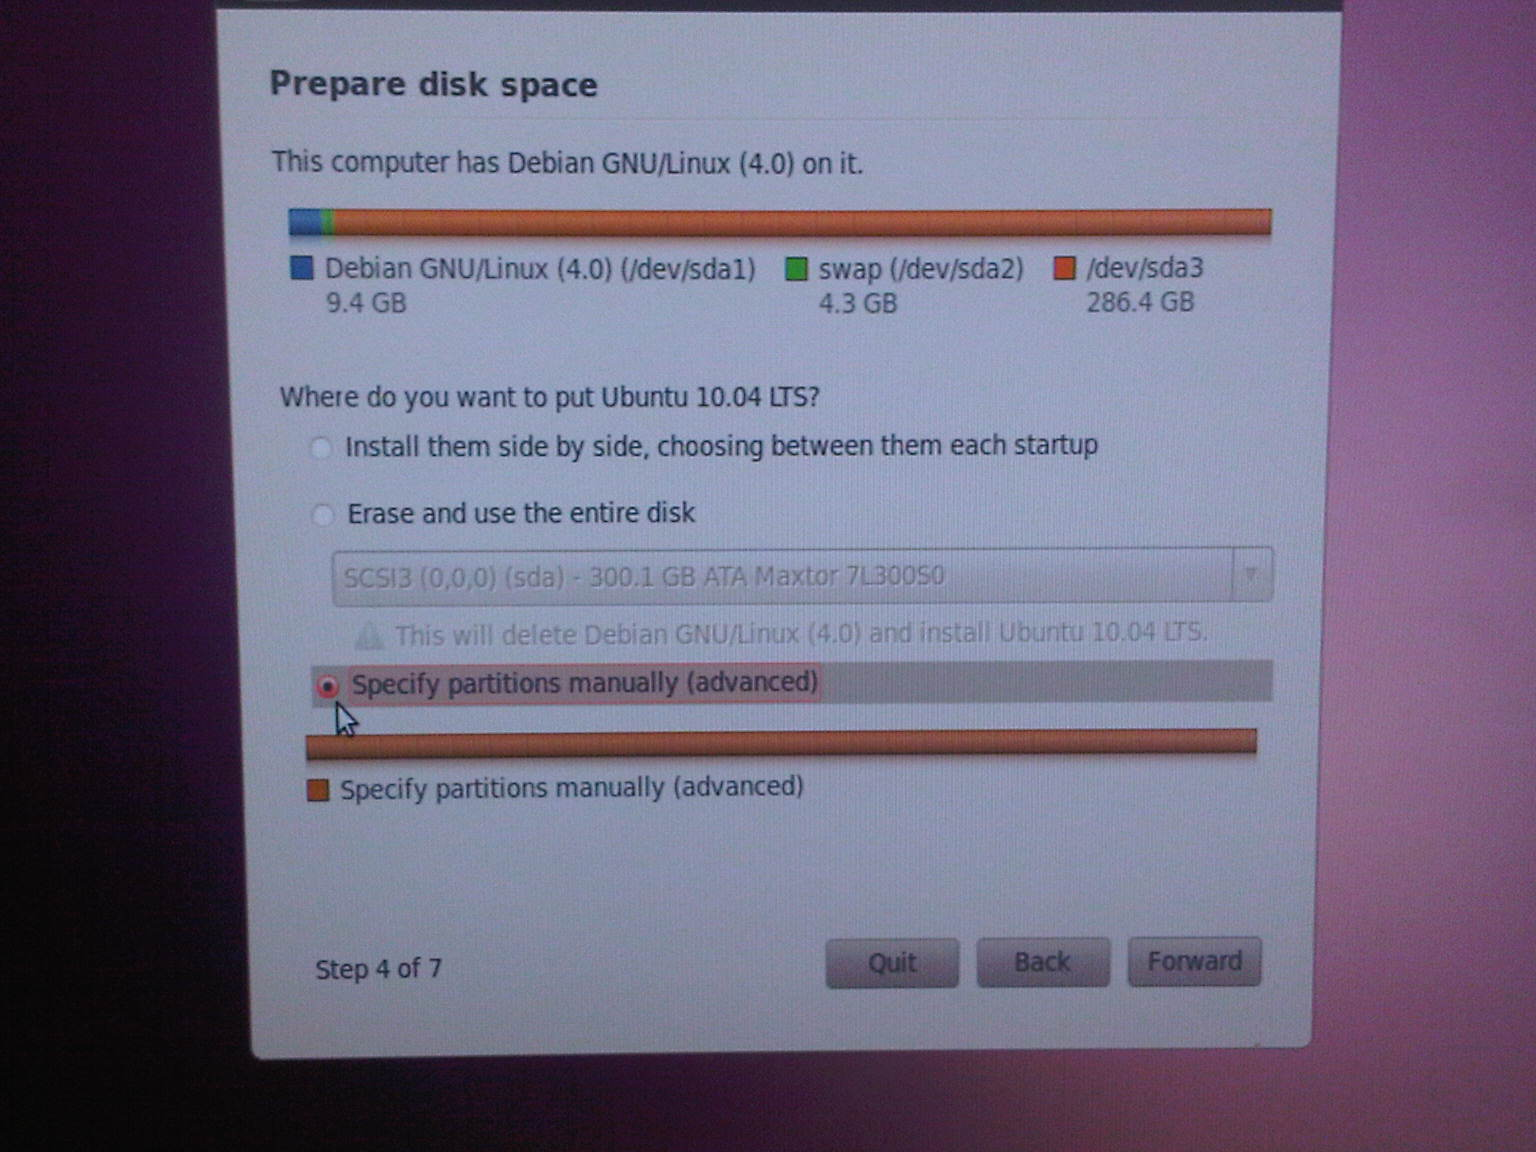
 | - Caution here. Select 'Specify partitions
manually' and click 'Forward'.
|
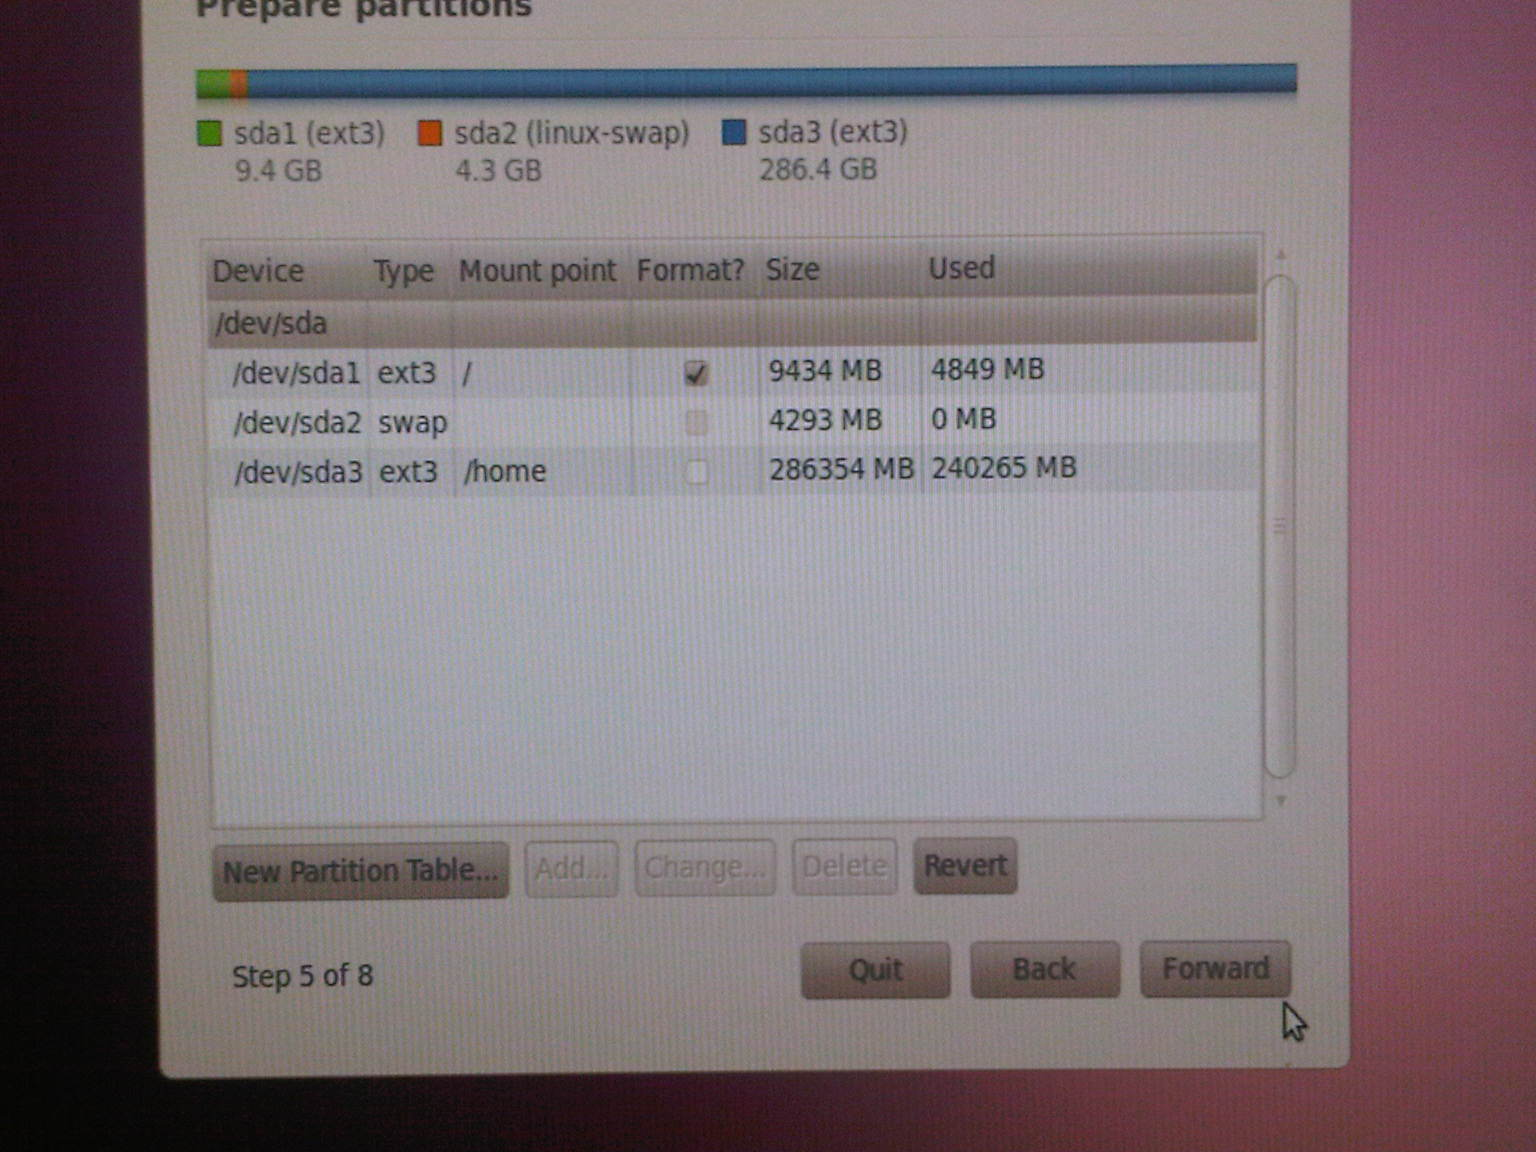
 | - Here we assume that you are upgrading a
machine that is already partitioned.
- If you are installing a
brand new machine, your disk will be blank and instead you should
create new partitions (typically, 10-20GB for /, 4-24GB for swap, and
the rest of the disk for /home. Make sure you create a /home
partition).
- Double-click on each partition in turn to inspect
it and assign it a mountpoint.
|
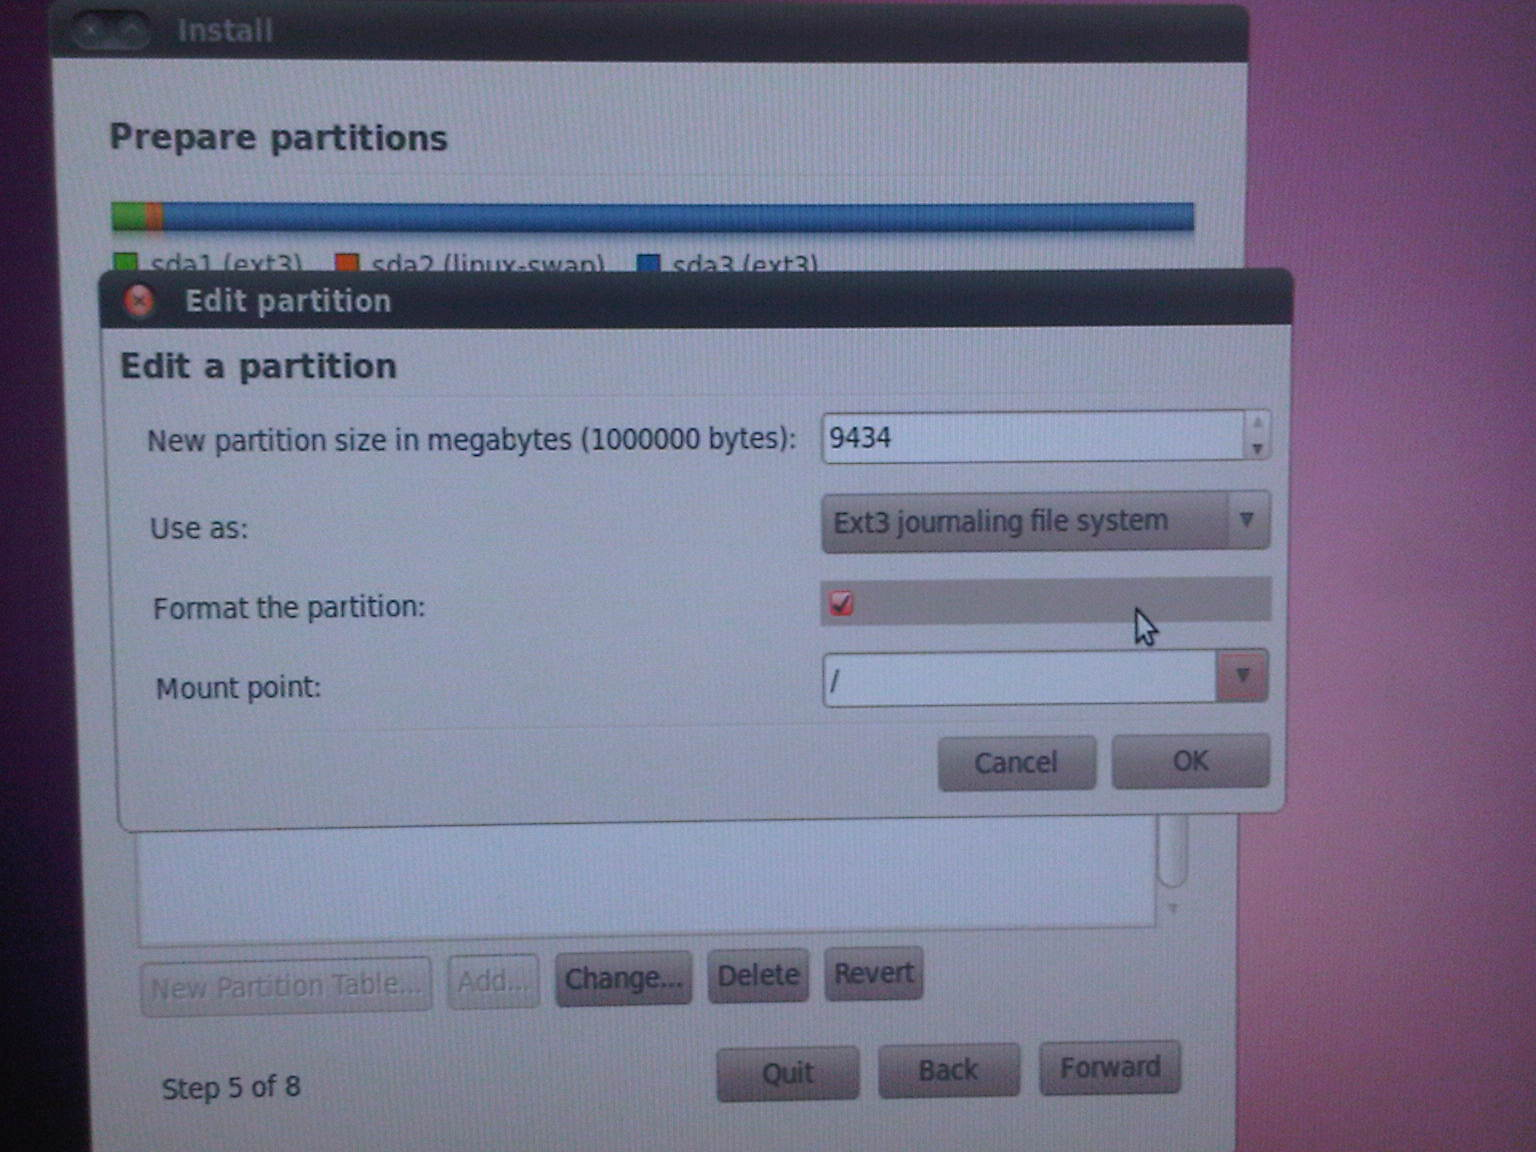
 | - Here we double-clicked on the first partition,
which is our root partition.
- Do not change the
size.
- Select Ext3 Journaling filesystem.
- Check 'Format
the partition'.
- Select '/' as mount point.
- Click
'Ok'.
|
 | - Here we double-clicked on the third partition,
which is our /home partition.
- Do not change the
size.
- Select Ext3 Journaling filesystem.
- DO
NOT check 'Format the partition' if upgrading an existing machine!
- Select '/home' as mount
point.
- Click 'Ok'.
|
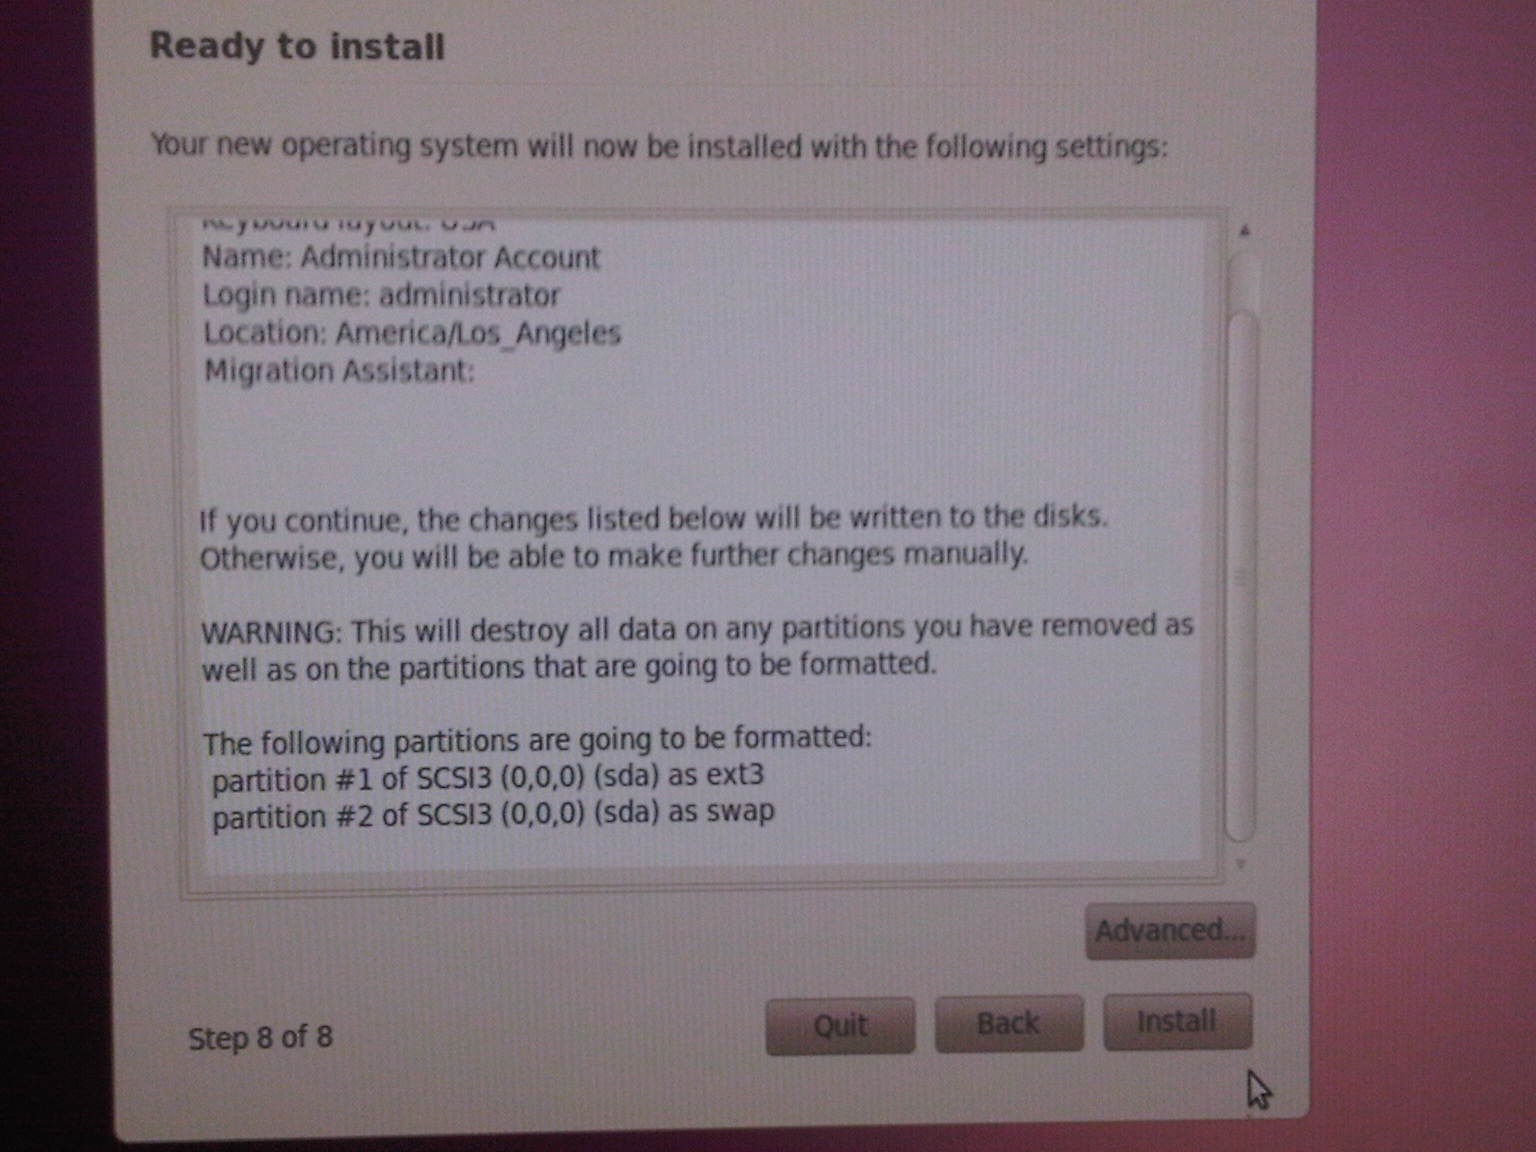
 | - Triple-check everything and click
'Forward'.
|
 | - For iLab machines, create an account called 'Administrator
Account' with username administrator and the usual
password.
- Do not use your own name here since your user
account is managed via NIS and will be imported later.
- Enter
your machine name including the domain name.
|
 | - Check everything one last time and click 'Install'.
|
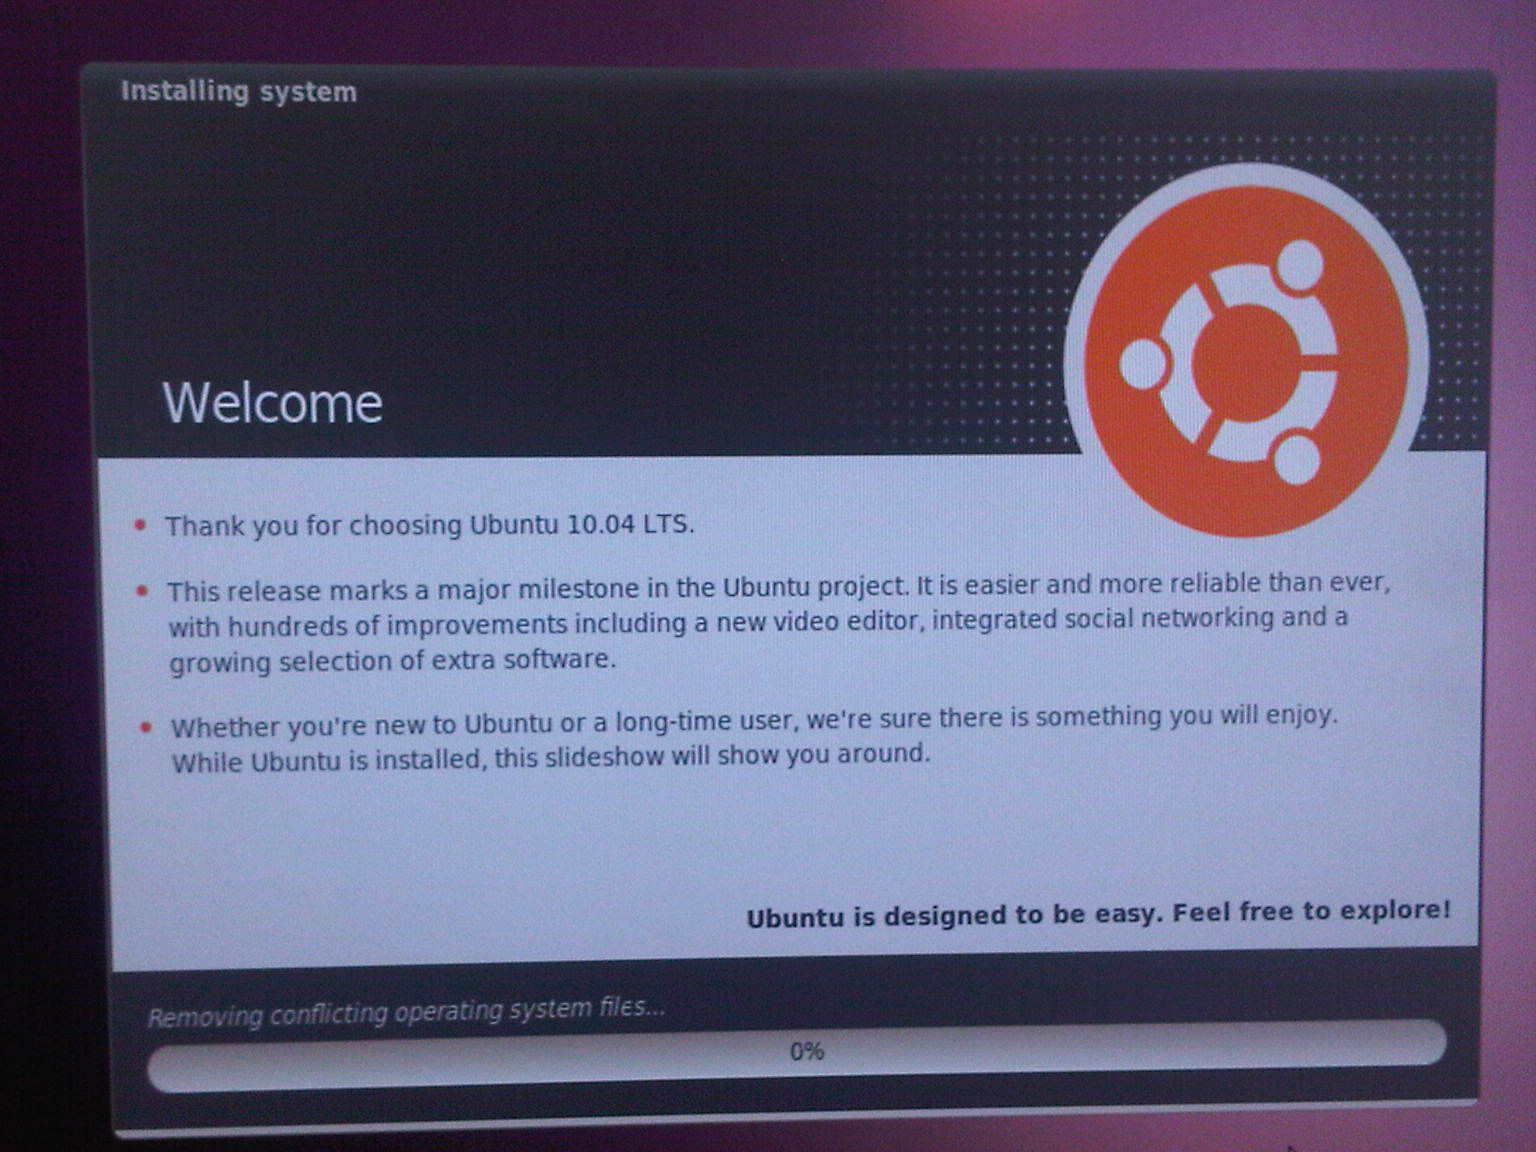
 | - The operating system will install.
|
 | - If the downloads get to slooooow here it is ok
to click 'Skip'.
|
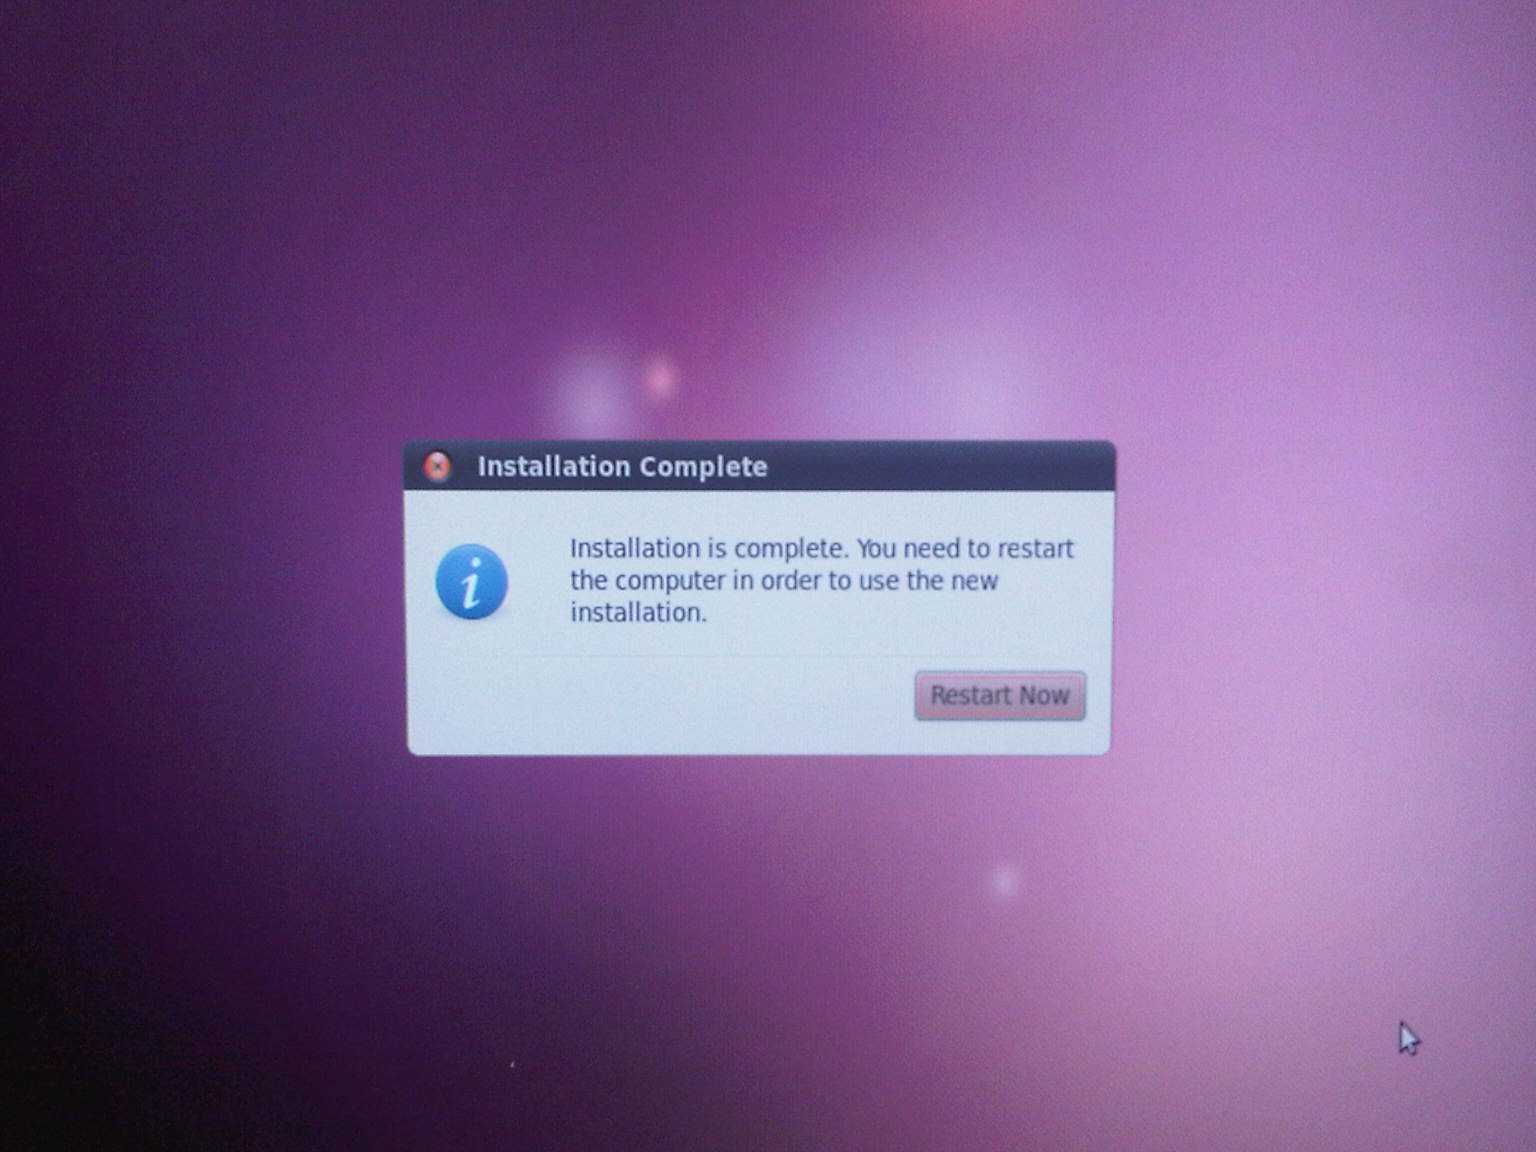
 | - Remove the DVD and reboot.
|
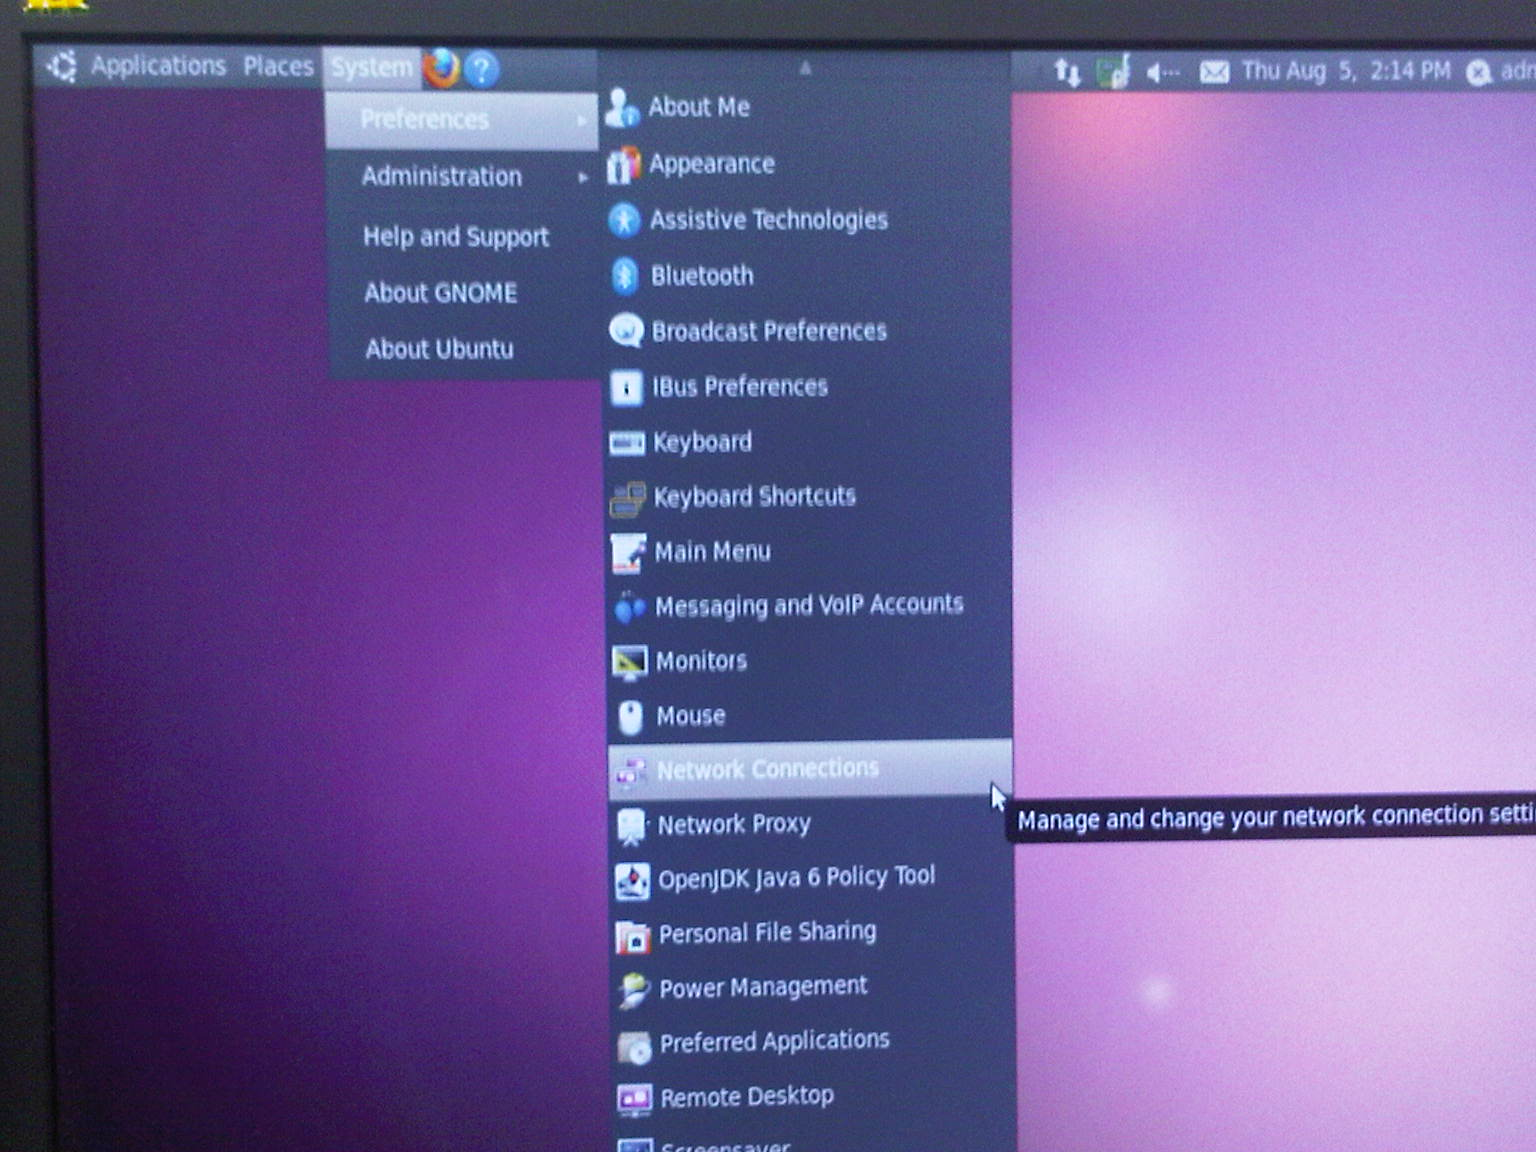
 | - Login into your Aministrator Account and
select the 'Network Connections'.
|
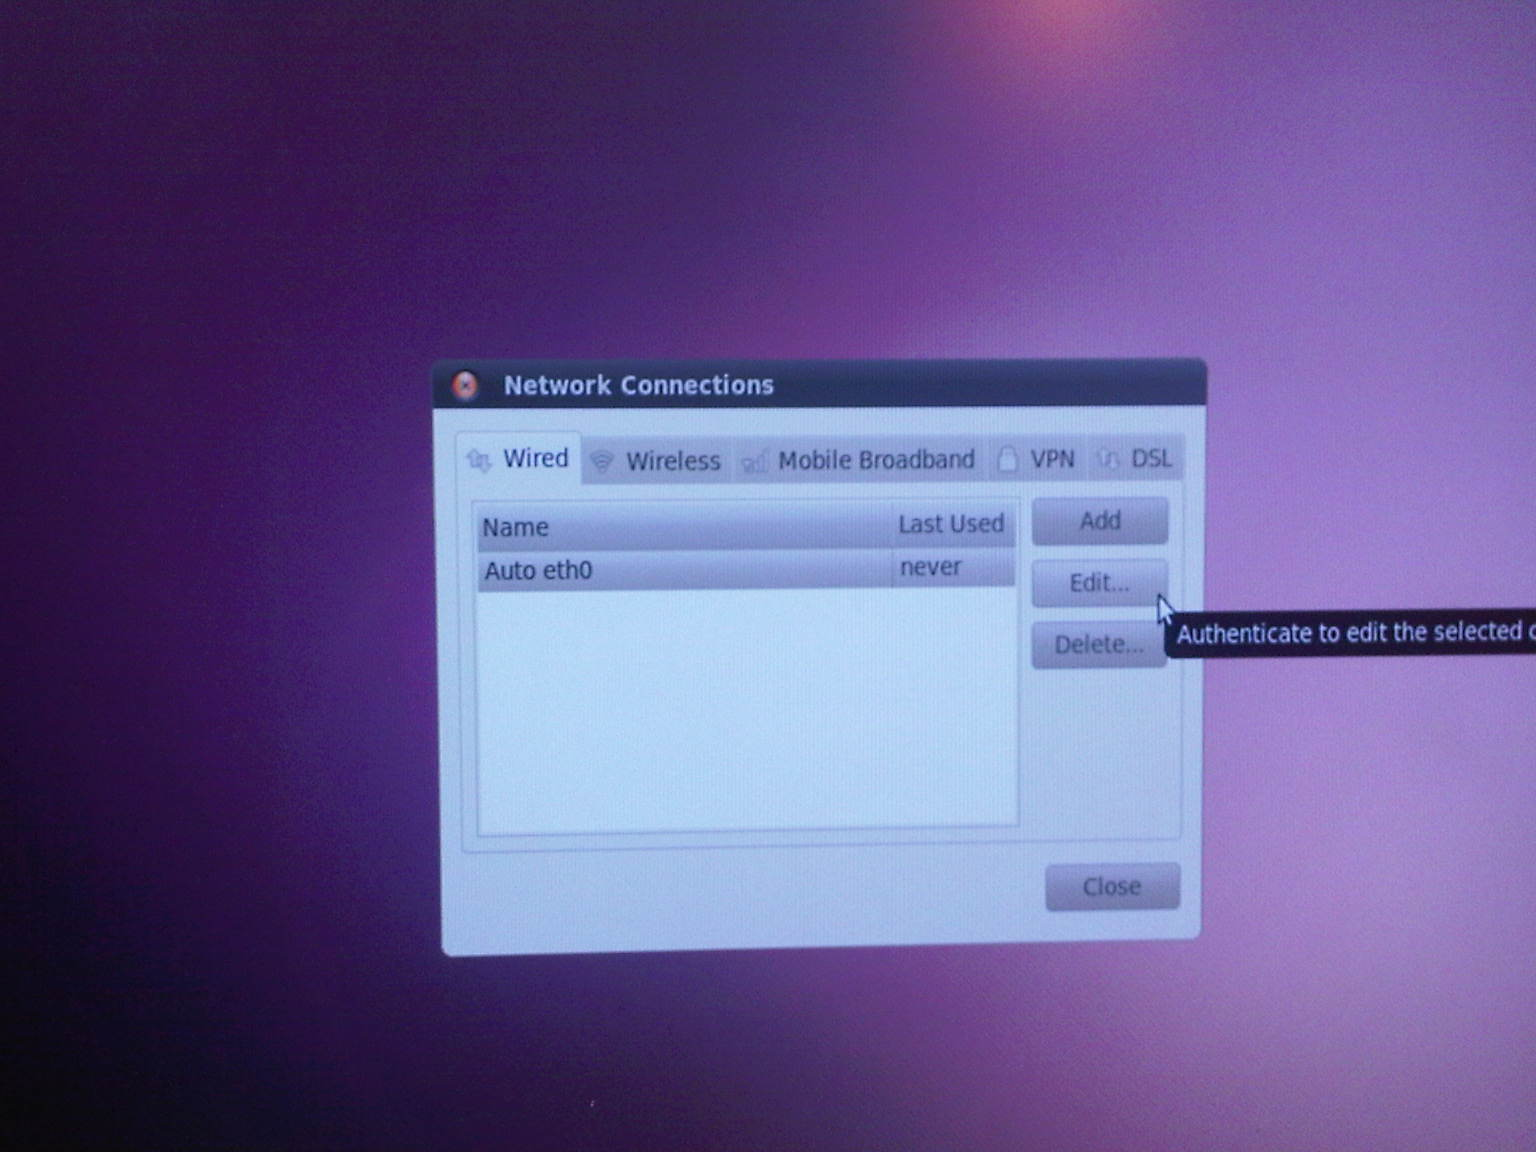
 | - Edit your wired connection that is on the lab
network. We are going to switch it to using a static IP which is
necessary so that other machines can mount your disk drive(s).
|
 | - In the 'IPv4 Settings' tab, click 'Add' and
enter your machine's information.
- Then also enter the DNS and
search domain information and click 'Apply'.
- You will be asked
to authenticate, use your Administrator Account's password for that.
|
 | - Somehow the interface will end up being down
so just start it by clicking on its name.
|
 | |
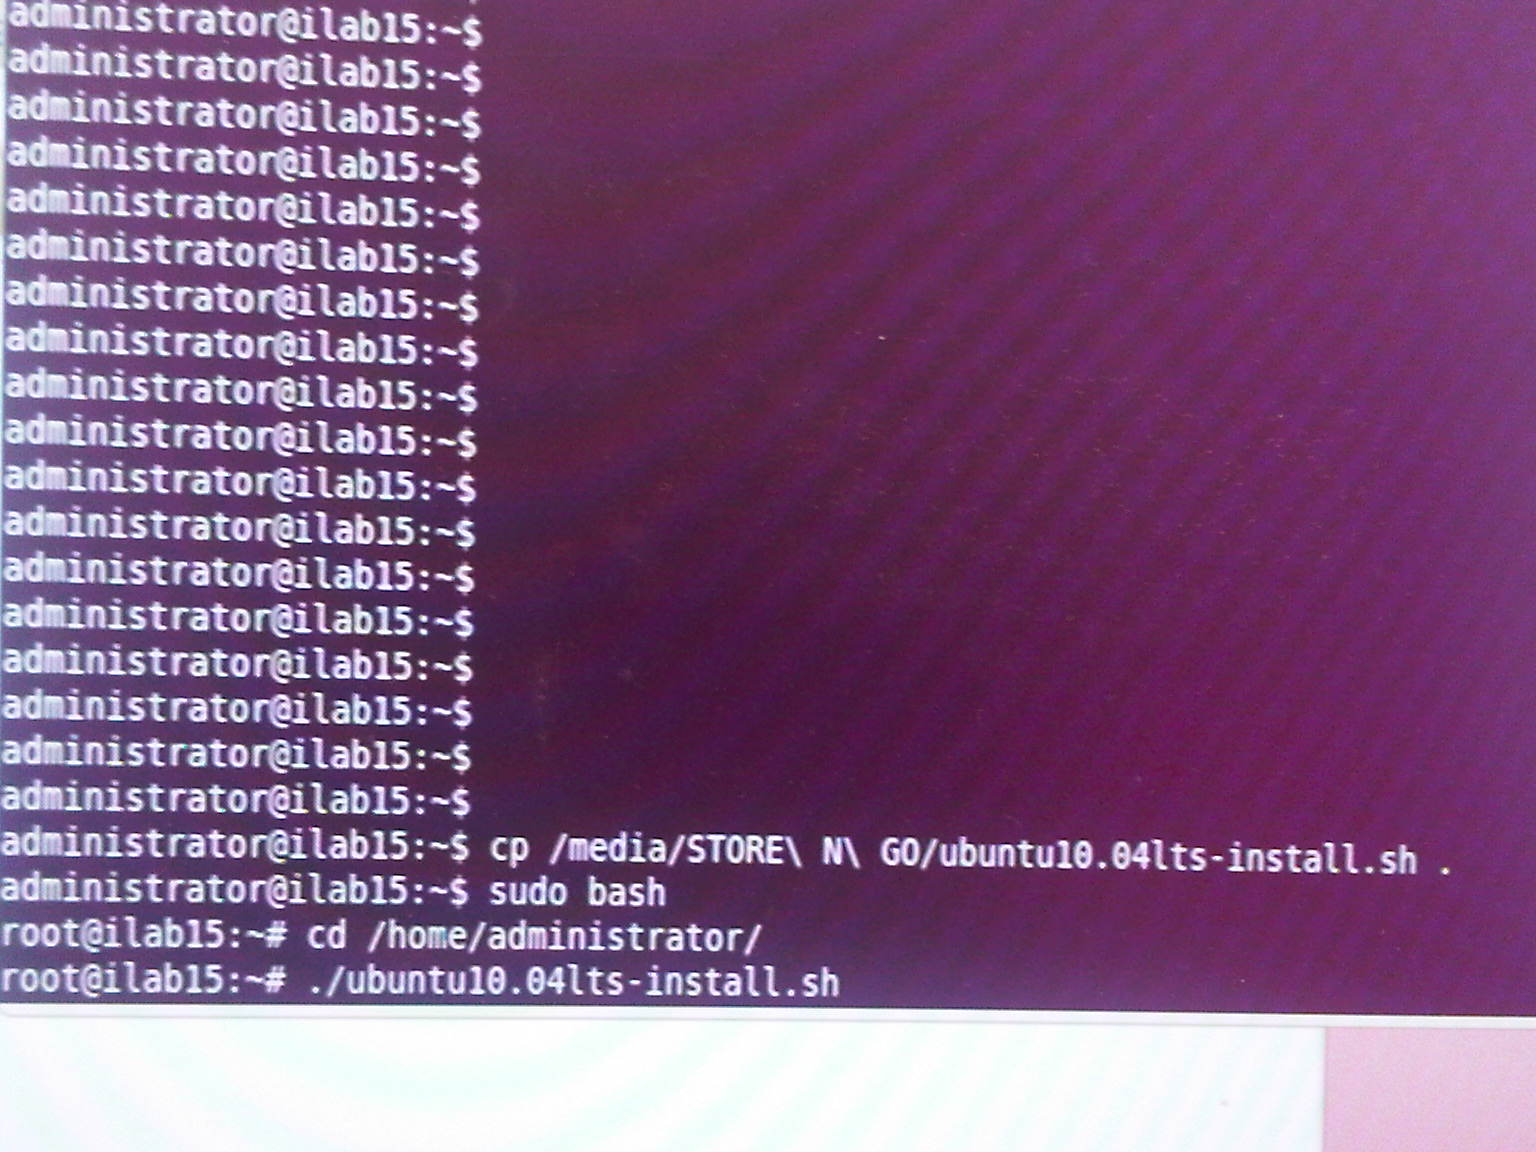
 | - Insert your USB flash drive into a USB port
and wait for it to show up.
- An entry will be created in
/media/ for it.
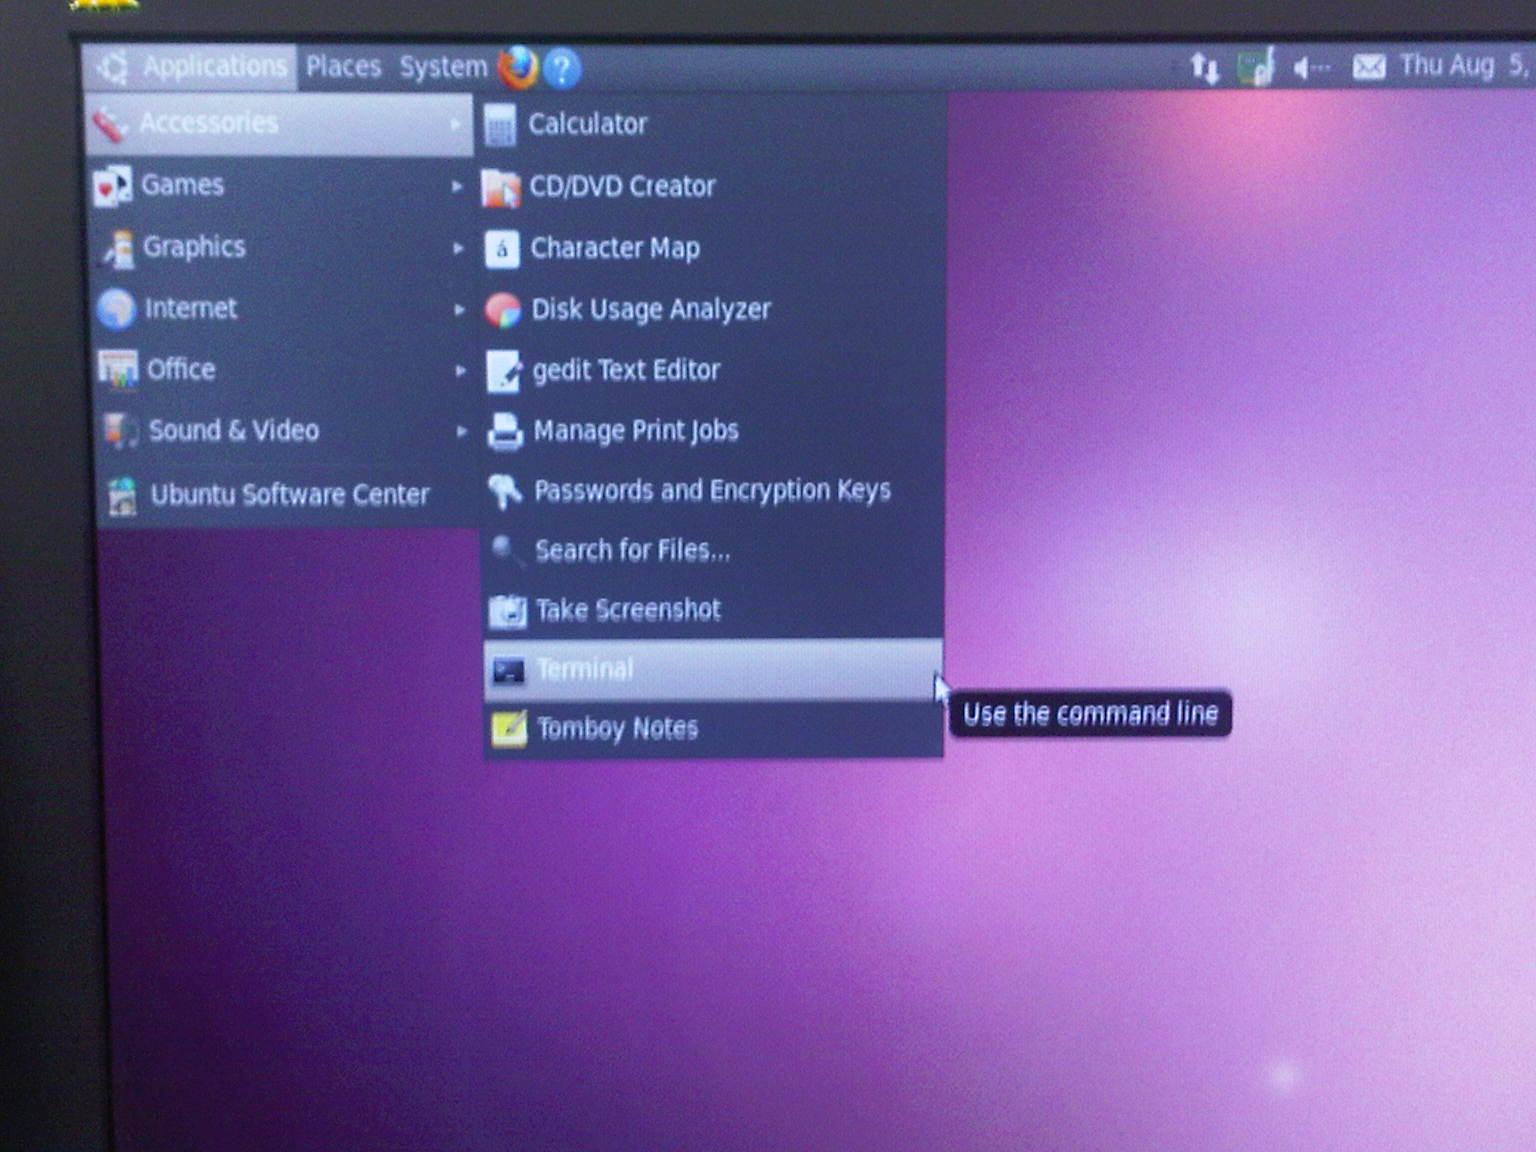
- Copy the iLab Ubuntu install script to your
administrator home account.
- sudo bash and enter your
administrator password.
- Get ready to run the script but just
before that check the next step.
|
 | - Shortly after you have reconfigured and
restarted your network, the Update Manager will pop-up then minimize
itself.
- Click on it (bottom of screen) and then click
'Close'.
- Make sure you wait for this before you launch the
iLab install script as the Update Manager may interfere with the script.
- Say 'y' for all the steps in the script (except CUDA if you don't
have a CUDA-capable nVidia graphics card).
- Reboot (a new kernel will be downloaded by the script).
- If you get interrupted in the process, re-run the script and make
sure you say 'n' for the steps which have already been executed, and
'y' for the remaining steps.
- Enjoy!
|